Injection mould design
I chose to design a mould for the validation tool I created which is also displayed in my portfolio. The exterior of the validation tool would be injection moulded using a thermoplastic polymer, polypropylene in the case of this product.

Analysis
Before I could create the mould I had to optimise the exterior part of the validation tool first, by doing extensive analysis and making adjustments accordingly.
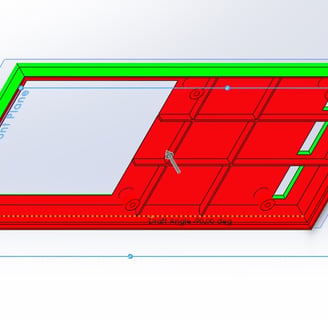
Thickness, a uniform thickness is important for certain physical restistance properties of the product itself but is also extremely important for injection moulding. A non-uniform thickness can lead to bad flow of the thermoplastic polymer throughout the mould, it could also lead to sinkholes, warping and tearing after the thermoplastic cooled off making the product less physically resistant and possibly harder to eject from the mould itself. After the analysis, also shown below I had to make minor adjustments to optimise the thickness, mainly around edges where fillets were applied.
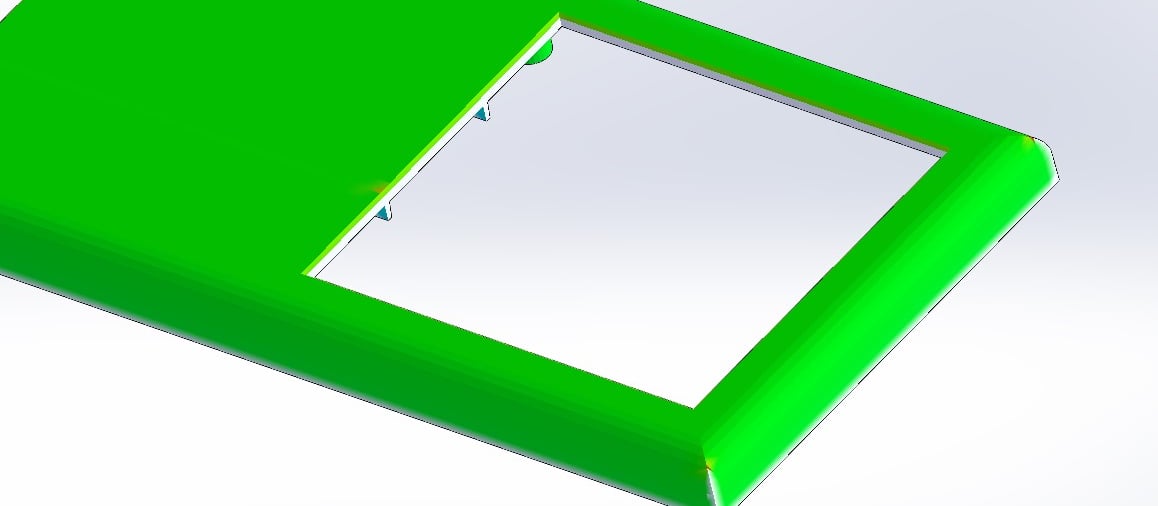
Draft could make it harder for the product to be ejected from the mold or possibly even impossible. Just the outside of the validation tool needed adjustments regarding draft.
Undercuts, similar to draft, can make it difficult to impossible to eject the product out of a mould. Performing the undercut analysis on the validation tool did not show any undercuts.



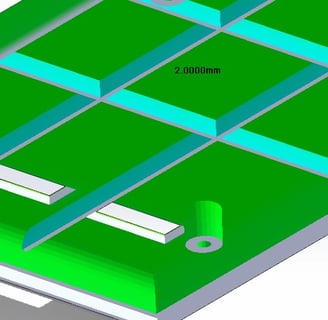
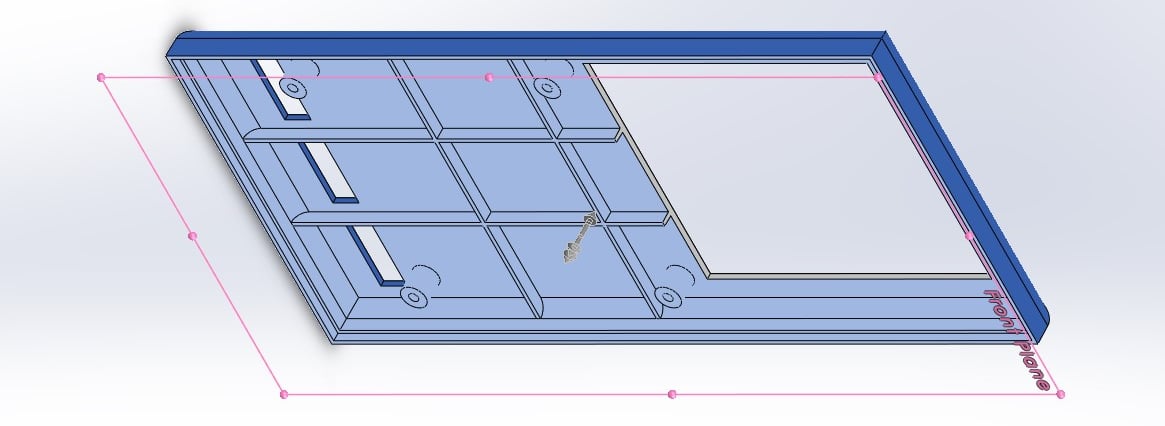

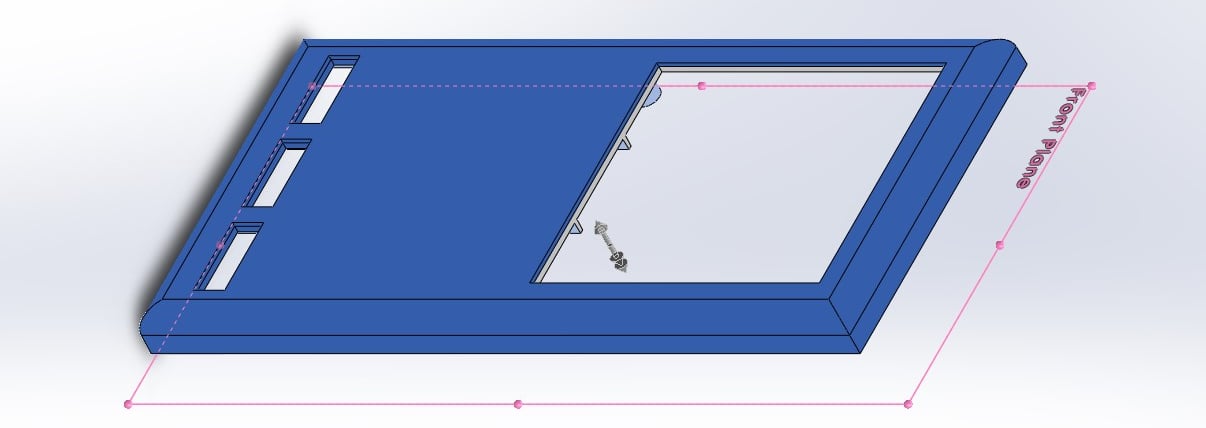

Final mould design
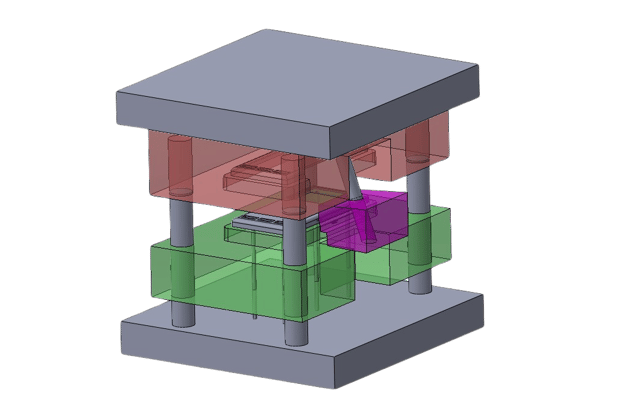
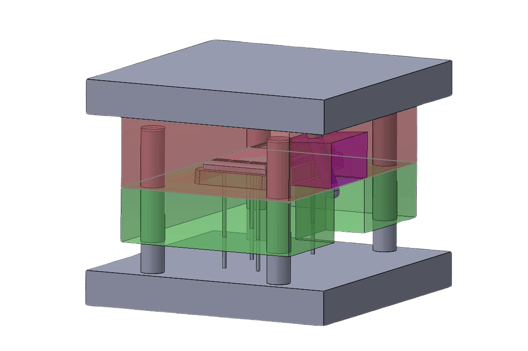
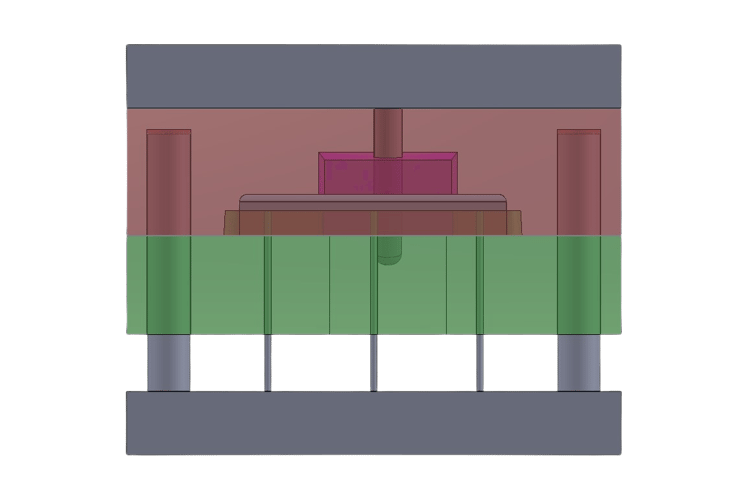
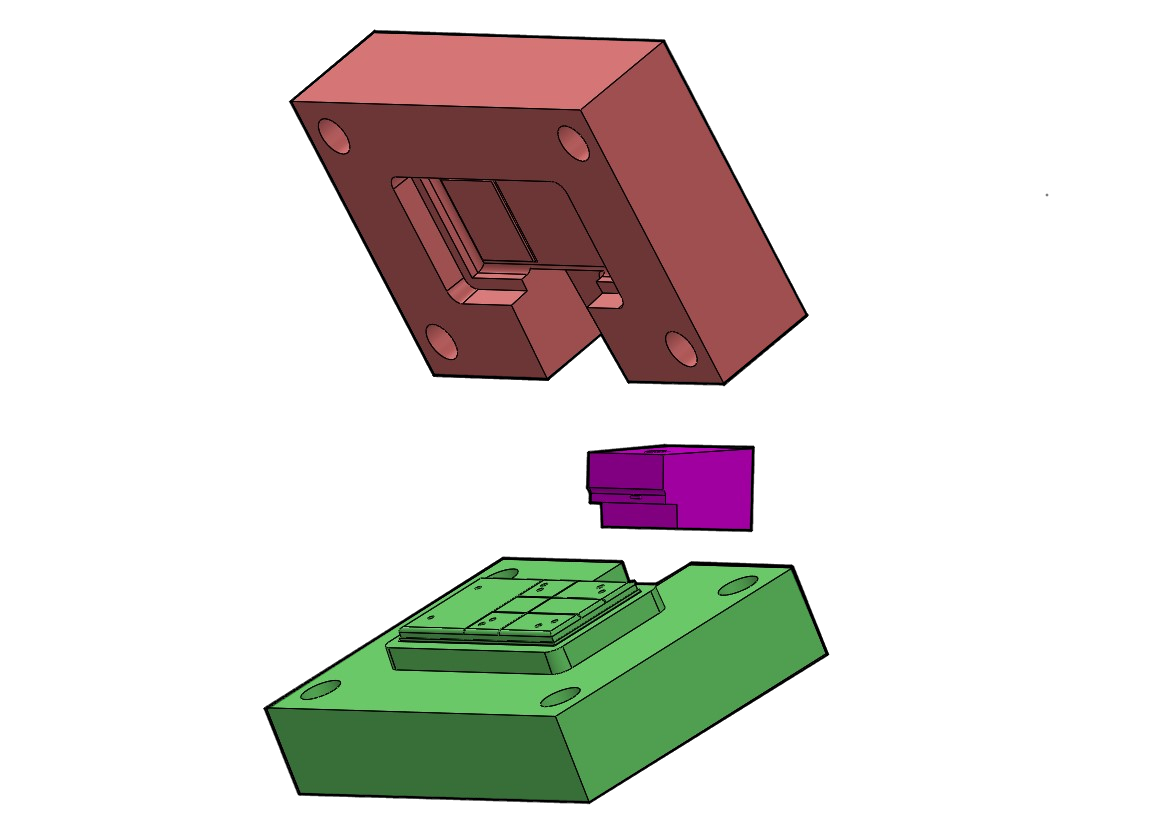
The final mould design exists of 3 parts, the cavity, the core and a third sideways moving part, which sole purpose is for the usb-c port.
The mould has 4 guide pillars in the corners. I have chosen to use 6 ejectors, for ejectors it is important to make them at least 1mm thicker in diameter than the wall thickness where they will touch the product itself. The product has a universal wall thickness of 2mm, thats why in this case I gave the ejectors a diameter of just under 5mm.
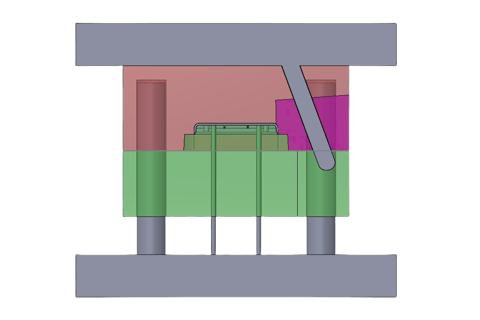
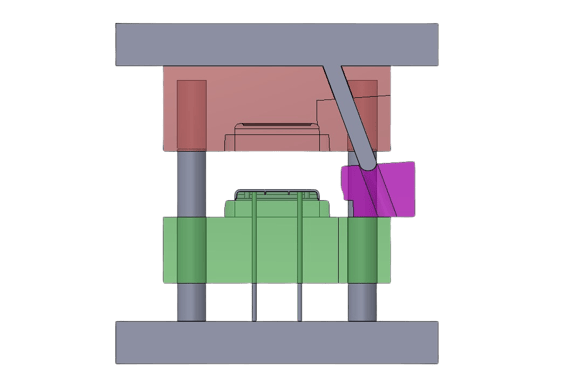
As for the operation of the sideways moving part of the mould, I chose to use a slider that works by means of a pin that moves with the core of the mold, pushing the slider away from the product and then pushing it back together as shown below
